Walkthrough
Getting the quest
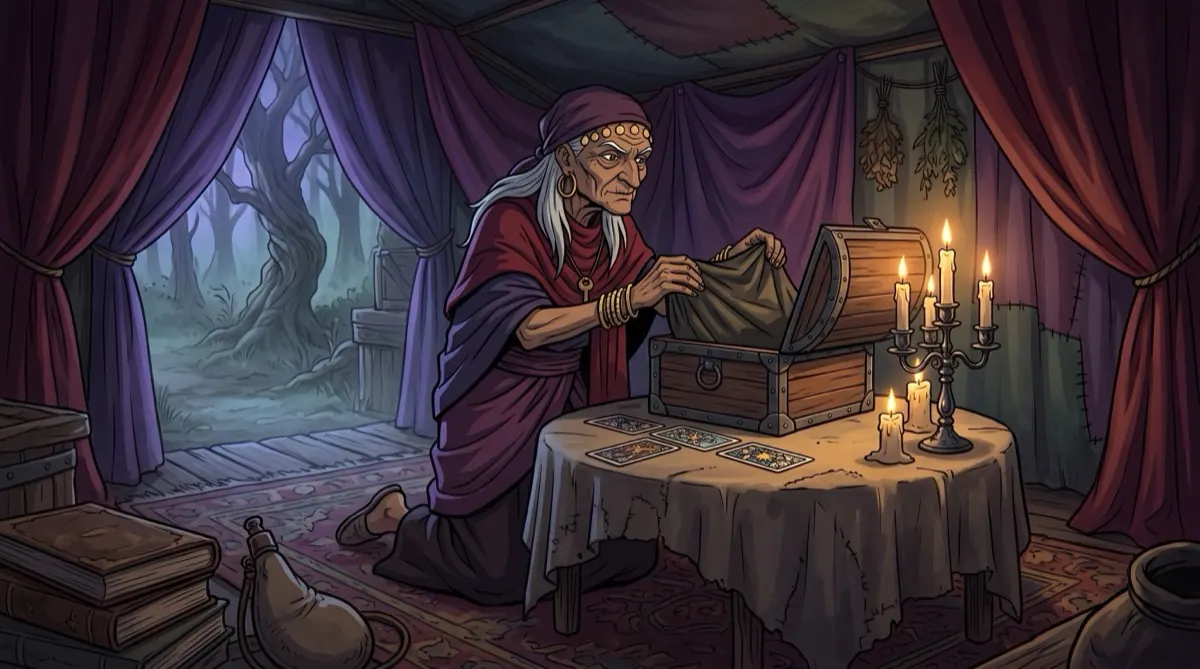
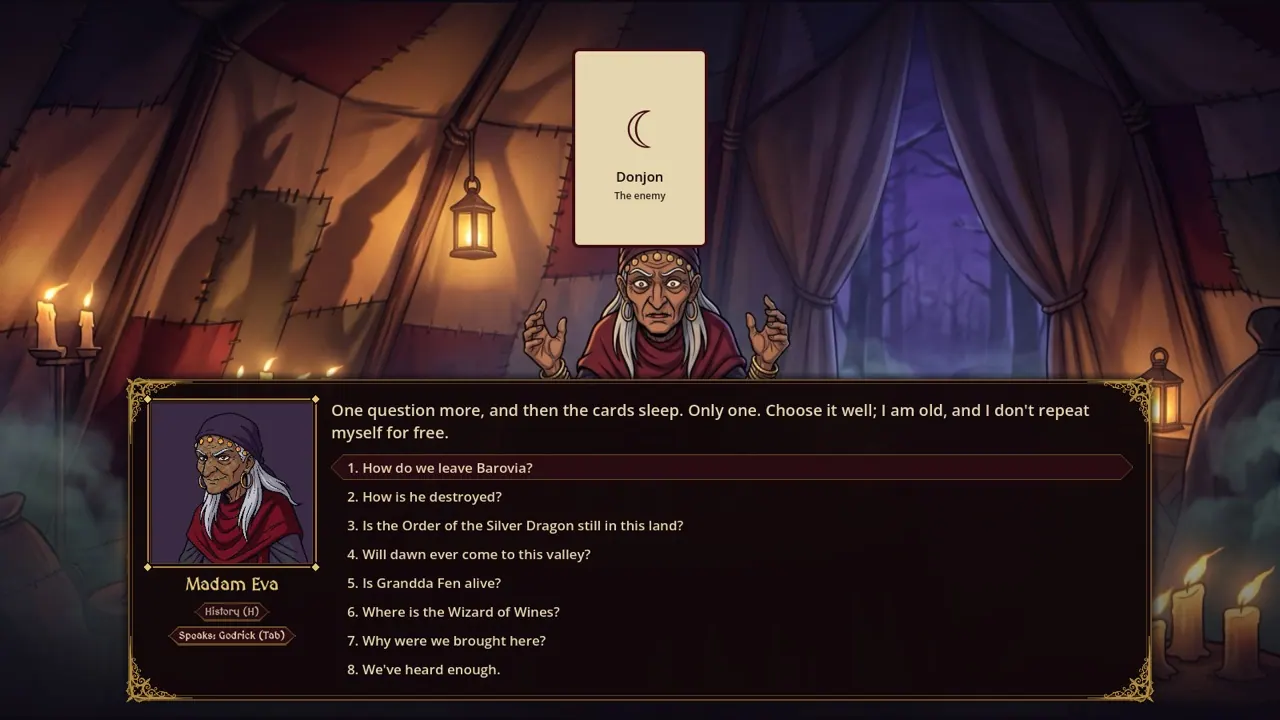
This quest starts at the end of Madam Eva's reading in The Seer at Tser Pool. Her second card is "a holy thing, made by people who believed the sun would come back". It names the place where the Holy Symbol of Ravenkind lies, and the quest goes straight into your journal at "Foretold", with the place written into the entry.
How the reading picks the place
Madam Eva deals from the Tarokka's common deck: forty cards in four suits (Swords, Stars, Coins and Glyphs), one to nine plus a master of each. The deck is shuffled from your playthrough's seed, and the first three cards go to the Tome, the Holy Symbol and the Sunsword, in that order. So:
- The reading is fixed for the whole playthrough. It's dealt once, the first time she reads, and reloading or asking her to "say the reading again" never changes it.
- The three treasures are always in three different places. Each card names one place, and no two cards name the same one.
- A card means the same place whichever treasure it lands on. The Avenger always means Vladimir's keeping at Argynvostholt, whether it's dealt for the Tome, the Symbol or the Sword.
- The journal tells you where. The quest's journal entry and hint spell out the place in plain words (the "Where" column below), and Madam Eva's verses are on The Tarokka Reading.
- Some places appear on the map because of the card. If the card points to the Abbey of St. Markovia, Yester Hill, the werewolf den, Van Richten's tower, Old Bonegrinder or the Amber Temple, that place shows up on your travel map straight away. The Amber Temple's road still needs the Tsolenka gate open.
Fifteen of the forty places are inside Castle Ravenloft, so there's a good chance at least one treasure waits in the castle itself.
Step by step
- Find your card. At the reading a notice names each card as it turns (for example "The Holy Symbol of Ravenkind: Monk"), and the Symbol's journal entry ends with the place it named in plain words. Look the card up in the table below.
- Go there and do what the row says. Most places are a container to open: a chest, a sarcophagus, a sack, a drawer. Some are a conversation, a pool to wade into, or a fight you have to win, and several have a lock, a trap or a guard in the way.
- Take it. The moment the Symbol is in your hands its picture plays and the quest is done.
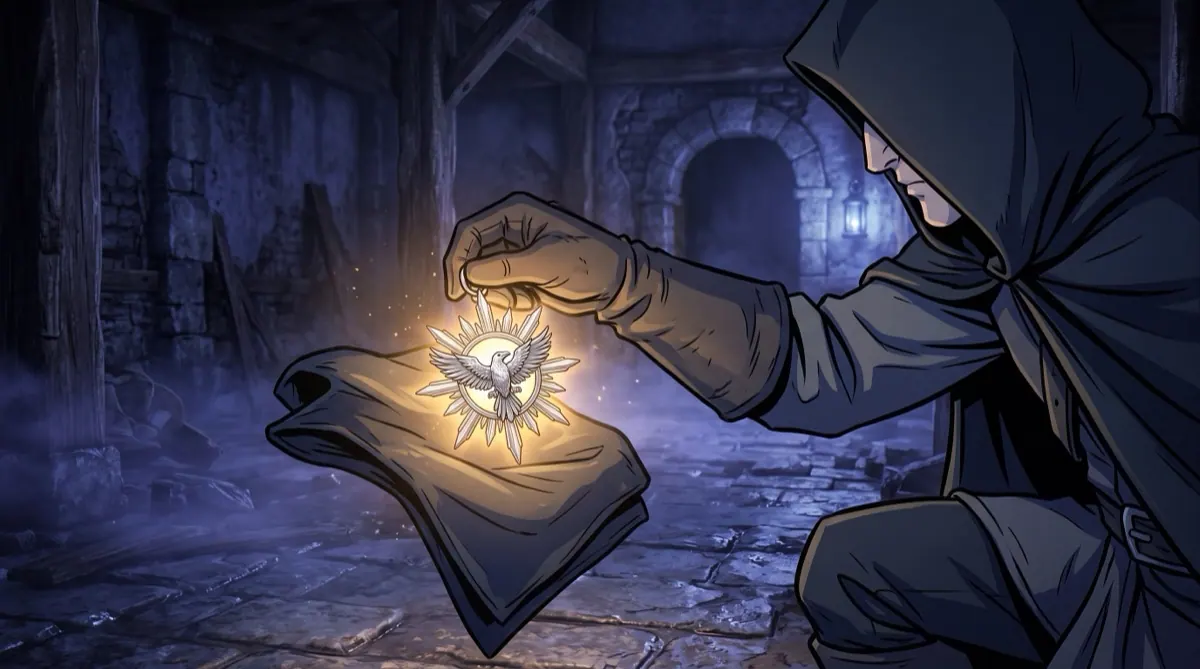
- Give it to your Cleric or Paladin. Only a Cleric or a Paladin can attune to it.
Every possible place
| Card | Where | How to get it there |
|---|---|---|
| Avenger (Swords 1) | Argynvostholt, Ground Floor: Vladimir Horngaard keeps it | Ask Vladimir, in the great hall, about "something that could hurt Strahd". He hands it over at the end of any settlement of The Order of the Silver Dragon: swear the Order's grudge oath ("Name your terms"), call the muster, beat him in a trial of arms and then say "We only want what you're keeping", or light the dragon's beacon (The Dragon's Beacon). |
| Paladin (Swords 2) | Castle Ravenloft, the Old Tombs: Sergei's tomb | Examine Sergei's white sarcophagus and choose "Take what lies in his hands". No lock and no roll. |
| Soldier (Swords 3) |  The Tsolenka Guard Tower The Tsolenka Guard Tower | Open the captain's strongbox in the captain's room (lock DC 15). Signing the watch roster as the relief watch (Deception DC 15, one try, 1d6 cold on a fail) unlocks it for you. Ask the phantom sergeant "What's in the captain's room?" and he admits a dead man's pack was locked away there. |
| Mercenary (Swords 4) | 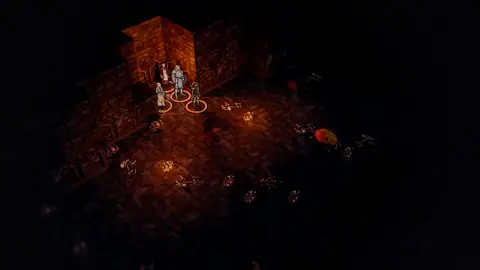 Castle Ravenloft, the Treasury Castle Ravenloft, the Treasury | The stair down is behind the lady's portrait in the King's Hall of the Court of the Count. Once you've read the count's ledger (or Lief Lipsiege or the brides have told you), you can simply swing the frame aside; otherwise find it with Investigation DC 16 or Perception DC 18. Mind the glyph on the bottom step (detect DC 16, 5d8 lightning; Arcana DC 17 at the chair on the hoard reads and disarms it, 3d8 thunder on a fail), then dig into the heaps of coin. |
| Myrmidon (Swords 5) | The Werewolf Den: the shrine of Mother Night | Open the offerings at the shrine. Unless Zuleika has vouched for you, Emil is free or the pack's fate is settled, werewolves and dire wolves jump you at the cave mouth (3 and 1; 4 and 2 at level 7; 5 and 2 at level 8). See The Pack in the Hills. |
| Berserker (Swords 6) | Castle Ravenloft, the Catacombs: the Mad Dog's crypt | The crypt gate is chained (lock DC 15), and a scything blade hides under the flagstones inside (detect and disarm DC 15, 4d10 slashing; History DC 15 at the torn regimental banners shows you where it is). Open the Mad Dog's sarcophagus. |
| Hooded One (Swords 7) | 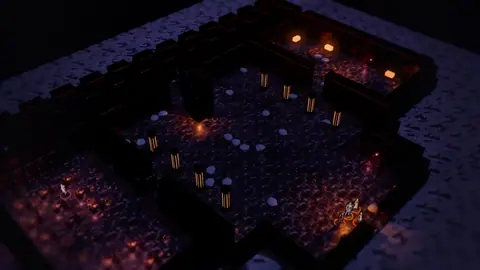 The Amber Temple: Hall of the Faceless God The Amber Temple: Hall of the Faceless God | Open the offerings at the statue's feet. Avoid the spot where its blank face looks (3d8 psychic and frightened on a failed DC 15 Wisdom save) unless you've read its rite (Religion DC 16, one try, 2d8 psychic on a fail). The road up needs the Tsolenka gate open (The Tsolenka Gate). |
| Dictator (Swords 8) | Castle Ravenloft, the Court of the Count: the audience hall | Open the throne: its seat lifts on a hidden hinge over a velvet-lined box. |
| Torturer (Swords 9) | The Burgomaster's Mansion in Vallaki: Izek's room | Open Izek's chest. It's his, so if anyone sees you it counts as theft: Izek thinks less of you and Vallaki's watch counts an offence. |
| Warrior (Master of Swords) | 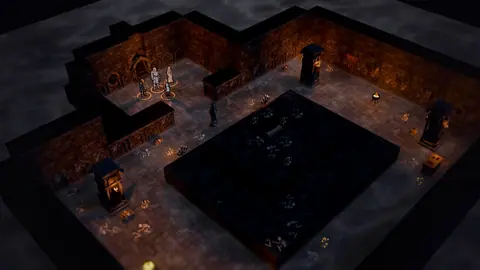 Castle Ravenloft, Strahd's Tomb Castle Ravenloft, Strahd's Tomb | Open the iron chest at the foot of the dais. Walking into the tomb first wakes its keepers (two vampire spawn and three swarms of bats) unless you've beaten them before. |
| Transmuter (Stars 1) | Castle Ravenloft, the Roofs: the north tower peak | Crossing onto the north tower peak wakes its stone guardians: 4 gargoyles (6 at level 10, 8 at level 11). Then open "A guardian that never moved". |
| Diviner (Stars 2) | 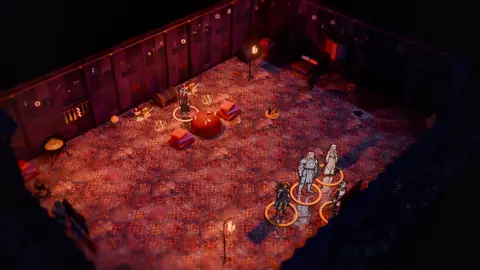 Madam Eva's Tent Madam Eva's Tent | Nothing to do: Madam Eva takes it out of her chest and gives it to you at the end of the reading. Her chest is empty after that. |
| Enchanter (Stars 3) | Beneath Marina's Monument, Berez | At Marina's statue on the dry mound in the Ruins of Berez, choose "Dig around the plinth" (half an hour) to uncover the stair. Open the painted dowry chest in the vault; it also holds a Robe of Scintillating Colors and 150 gp. |
| Abjurer (Stars 4) | The Beacon Tower, Argynvostholt | Climbing into the lantern room wakes what lives there: a wraith and two specters (a wraith and three specters at level 7, two of each at level 8). Open the lamp-keeper's locker beside the beacon's cradle. |
| Elementalist (Stars 5) | 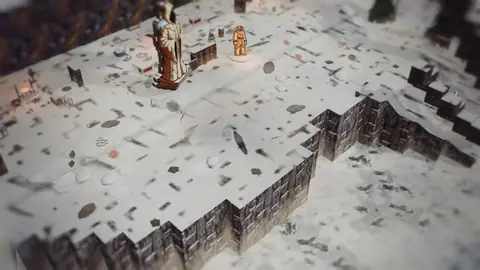 The Amber Temple: the Doors The Amber Temple: the Doors | Open the traveller's pack by the frozen traveller at the temple doors. The road up needs the Tsolenka gate open. |
| Evoker (Stars 6) | Castle Ravenloft, the Catacombs: the conjurer's crypt | Examine the conjurer's bier to take his wand: it is the key to his sealed reliquary (without it, lock DC 22). A glyph on the threshold does 4d8 lightning (detect and disarm DC 16; Arcana DC 16 at the sigils on the wall reveals and disarms it). |
| Illusionist (Stars 7) | The Blue Water Inn, Vallaki: Rictavio's wagon in the stable yard | The wagon door is locked (DC 20), and so is the iron-bound lockbox inside (DC 18). Both are Rictavio's, so being seen is theft, and he notices afterwards that someone has been in. Leave the cage alone. |
| Necromancer (Stars 8) | Castle Ravenloft, the Court of the Count: the study | Open the portrait over the study fireplace; the treasure is wedged behind the canvas. |
| Conjurer (Stars 9) | Baba Lysaga's Hut, Berez | Open her pantry. It only opens once Baba Lysaga is dead, has struck a bargain with you, or has been left broken, and the hut itself only lets you up once she has invited you in, bargained, died, or Strahd knows the truth about Marina. See The Witch of Berez. |
| Wizard (Master of Stars) |  Van Richten's Tower Van Richten's Tower | Say the builder's name, Khazan, at the door: read it off the lintel (History DC 14, one try), hear it from Ezmerelda, or let Rictavio open it (The Hunter's Tower). Open Van Richten's strongbox in the lantern room at the top. The lightning ward on the floor nails (detect DC 15, disarm DC 16, 4d10 lightning) is off once the ward is lowered or Rictavio is with you. |
| Swashbuckler (Coins 1) | Castle Ravenloft, the Catacombs: the champion's crypt | Walking into the gargoyle tomb wakes six gargoyles. Open the champion's slab. |
| Philanthropist (Coins 2) | 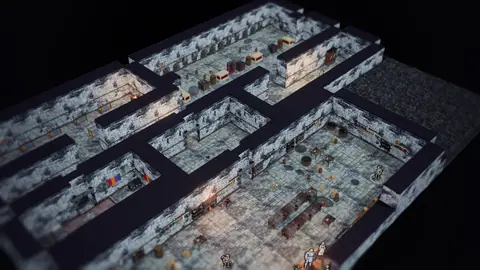 The Wards of St. Markovia The Wards of St. Markovia | Open the foundling's locker in the foundling ward. |
| Trader (Coins 3) | The Press House, the Wizard of Wines | Open the wizard's rack. Kostin, the druid holding the press house, confronts you as you come in (The Wizard of Wines). |
| Merchant (Coins 4) |  The Winery Cellars The Winery Cellars | Open the cask that sounds hollow in the cask vaults. The druids' dig, with its blights, is at the far end of the cellar. |
| Guild Member (Coins 5) | Castle Ravenloft, the Larders of Ill Omen: the wine cellar | Pull down the bricked-over rack at the back of the cellar. No roll is needed (Investigation DC 12 beforehand only tells you more). The wine merchant walled up behind it also has 35 gp and his ledger. |
| Beggar (Coins 6) | The Vistani Camp outside Vallaki: Kasimir, the grieving dusk elf | Kasimir Velikov, mending a net by a shuttered wagon, keeps it and trades it. First get him to tell you about his sister: pass Insight DC 13 ("What is he grieving for?", one try) or sit with him a while and say nothing. Then choose "We'll find you a road into the mountains, to that temple." and he hands it over, with no roll and no price. The sack under the brambles at the camp edge holds only two rations and a net. If the cards also named Kasimir your ally and you haven't traded yet, he hands it over as he joins you. |
| Thief (Coins 7) | Village of Barovia: the churchyard | Open the loose grave slab in the churchyard. |
| Tax Collector (Coins 8) | The Vistani Camp outside Vallaki: Luvash's wagon | Luvash's chest has no lock to pick or force: it opens once his daughter is home or lost (The Missing Girl). Talk to Luvash either way. If Arabelle is out of the lake, he opens the chest after his own reward and gives you the treasure; if she drowned, he tells you to take whatever's in it and hands the treasure over. Before then only magic opens it (Knock, a Chime of Opening or the Mystery Key), and it's his chest, so being seen opening it is theft. |
| Miser (Coins 9) | Castle Ravenloft, the Main Floor: the hall of faces | Put out the hearth that burns on nothing. Arcana DC 15 (one try) or a flask of holy water does it quietly; shutting the flue does it loudly and wakes two guardian portraits with helmed horrors (two, or three at level 10). Then find the seam beside the firebox (DC 13) and open the iron strongbox behind it (320 gp as well). |
| Rogue (Master of Coins) | 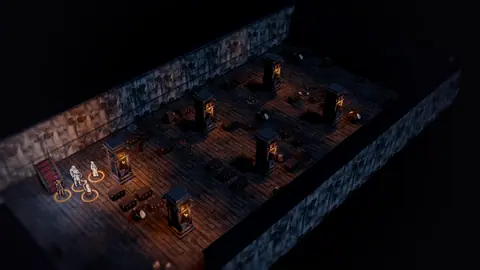 Castle Ravenloft, the Ravens' Roost Castle Ravenloft, the Ravens' Roost | Get in through the hatch from the roofs, or the narrow stair behind the wardrobe in the tower rooms. Calm the ravens before you touch the great nest: hold out a hand if you're friends of the Keepers of the Feather or fed the road raven, scatter a ration, pass Animal Handling DC 14 (DC 18 if you've hurt a raven), or use Speak with Animals. Otherwise, opening the nest sets six swarms of ravens on you. |
| Monk (Glyphs 1) | 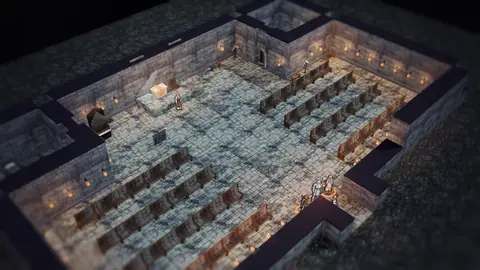 The Church of St. Markovia The Church of St. Markovia | Examine the great sunburst over the altar and lift it down from its hooks; the treasure is in the niche behind it. No roll. |
| Missionary (Glyphs 2) | The Abbey Garden: the scarecrow with the stitched mouth | Two ways. Walk up to the row of scarecrows, and the Stitched Sentry and four scarecrows come down off their poles; the treasure is in the loot when they fall. Or unpick their binding first (the Arcana DC 15 check at the stitched scarecrow), and they sag on their poles and never fight. Then examine the stitched scarecrow and choose "(Cut the stitches.)" to take the treasure sewn up inside its chest. |
| Healer (Glyphs 3) | The Pool of the White Sun, Krezk | Examine the pool's edge and choose "Wade in". No roll. You need to get through Krezk's gate first (The Gate of Krezk). |
| Shepherd (Glyphs 4) | Castle Ravenloft, the Old Tombs: the royal tomb | Open Queen Ravenovia's sarcophagus. The way there runs through the hall of stone guardians, which wakes as you walk in (Strahd's animated armour and two helmed horrors). |
| Druid (Glyphs 5) | 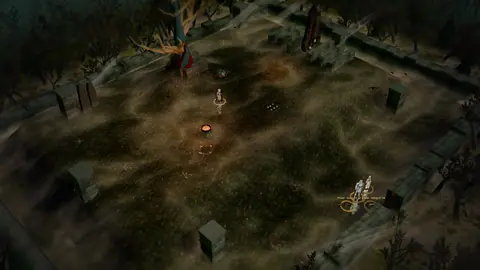 The Crown of Yester Hill The Crown of Yester Hill | Reach in "Among the roots" of the black tree inside the ring of standing stones. Mother Ruxandra and her druids hold the summit. |
| Anarchist (Glyphs 6) | Castle Ravenloft, the Dungeon: the hall of bones | Open the drawer at the head of the table of bones. The lamp over the table is a trap (detect DC 14, disarm DC 15, DC 15 Dexterity save). |
| Charlatan (Glyphs 7) | Old Bonegrinder: the great oven | Open the great oven in the bakery. If Offalia the night hag is still awake and in the mill, opening it brings her down on you, so kill her, put her to sleep or lure her away first (The Children in the Mill). The game won't let you burn the mill while the treasure is still in the oven. |
| Bishop (Glyphs 8) | 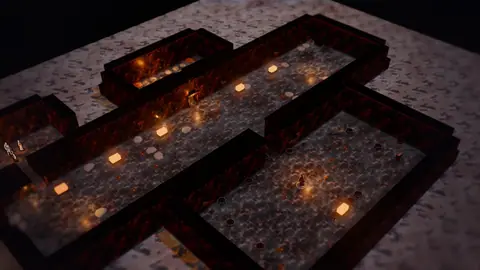 The Amber Temple: the Vaults The Amber Temple: the Vaults | Open the heap of offerings behind the honey-glow doors. Only two ways open the doors quietly: speak the wardens' word (Exethanter teaches it) or pass Arcana DC 17. Strength DC 20, a bleeding hand, or "keep at it" after a failed try all wake the Vault Guardian, an amber golem. Watch for the cracked amber in the vault ceiling (detect DC 14). The road up needs the Tsolenka gate open. |
| Traitor (Glyphs 9) | Wachterhaus, Vallaki: Lady Wachter's study | Open her desk drawer (lock DC 14). It's hers, so being seen is theft. |
| Priest (Master of Glyphs) | 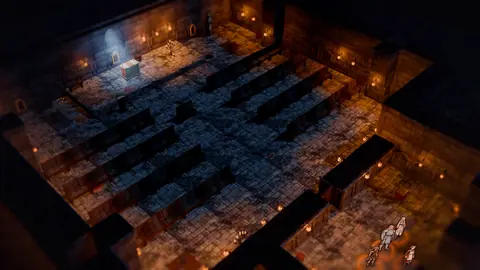 Castle Ravenloft, the Chapel Castle Ravenloft, the Chapel | Open the altar under its dust. |
Choices and endings
The quest has one ending, "Found". What the Holy Symbol does for you:
- It holds 10 charges and regains 1d6+4 each dawn. Its bearer must be attuned (a Cleric or Paladin).
- Hold Vampires (a Magic action, 1 charge): every vampire and vampire spawn within 30 feet that can see it makes a DC 15 Wisdom save or is Paralyzed for up to a minute, saving again at the end of each of its turns.
- Sunlight (a Magic action, 5 charges): the sunstone blazes with true sunlight, bright for 30 feet and dim for 30 more, for ten minutes. Sunlight stops Strahd's Regeneration, and if he's dropped to 0 hit points while he stands in it he can't turn to mist and flee to his coffin.
- It turns him away at Ireena's window. When Strahd comes for Ireena where she shelters, "Raise the Holy Symbol of Ravenkind" is one of the ways to stop him.
- It can end him. At his coffin, once he's beaten, "Raise the Holy Symbol and call up the dawn" destroys him.
- Strahd notices. Carrying it adds 3 points to Strahd's attention, and he mentions it when you face him.
If you're stuck
- Listen for hints. Many places drop a hint while a treasure is still there: a narrator line about something catching the light, or someone nearby mentioning it. Davian Martikov's ravens report a cold light in the winery; Ilinca and Morgantha both mention something in Bonegrinder's oven; Zuleika knows about the bundle at Mother Night's feet; Ezmerelda mentions the strongbox in Van Richten's lantern room; Kasha at the Pool of the White Sun has "seen something strange in the water"; Baba Lysaga smells it under Marina's stone. Once it's taken, those hints stop.
- Missionary card, and you unbound the scarecrows? Then there's no fight to loot. Examine the scarecrow with the stitched mouth and choose "(Cut the stitches.)": the treasure is sewn up inside it.
- Mind Strahd's room. If the treasure is in the same room where the reading says Strahd waits (for example the throne room, the study, the treasury, the chapel or his tomb), walking in starts his final parley and battle. See Where the Devil Waits, and be ready before you go.
- Owned containers (Izek's chest, Rictavio's wagon, Lady Wachter's desk, and Luvash's chest if you open it yourself) count as theft if someone sees you open them. Pick your moment.
- Nobody can use it? It needs a Cleric or Paladin to attune. Without one it still counts as found, still ends the quest, and still lets you raise it over his coffin.
Rewards
What your companions think
- Godrick Pendlebrook: +3 you stood by me when I told Madam Eva I can't read; +1 you asked Madam Eva to read for the valley's sake; -3 you threatened an old woman for her cards; -2 you kept what was stolen from the Vistani to their faces
- Liriel Dawnsong: +3 you stood by me when I told Madam Eva I'm afraid of the dark; +1 you asked Madam Eva to read for the valley's sake; -2 you threatened an old woman for her cards; -1 you kept what was stolen from the Vistani to their faces
- Thistle: +3 you stood by me when I told Madam Eva I don't fit anywhere
- Ratatouille: +3 you stood by me when I told Madam Eva I'd rather cook
- Wren Featherfoot: +3 you stood by me when I told Madam Eva I'm not finished; -1 you threatened an old woman for her cards; -1 you kept what was stolen from the Vistani to their faces
- Kip Smudgewick: +3 you stood by me when I told Madam Eva who signed the contract; -1 you threatened an old woman for her cards; -3 you kept what was stolen from the Vistani to their faces
Journal
Every journal entry and hint
Foretold: Madam Eva's second card spoke of a power of light and faith: a sunburst with a raven at its heart, made to hold vampires still. She saw where it lies. {tarokka.symbol.hint}
Hint: Search where Madam Eva's card pointed: {tarokka.symbol.hint}
Found (the end: success): We have the Holy Symbol of Ravenkind. It is warm to the touch, even here.
Related
- People: Madam Eva
- Places: The Church of St. Markovia, The Pool of the White Sun, Madam Eva's Tent
- Next in the story: The Sunsword
Cutscenes
Five Cards: Madam Eva deals the Tarokka in a cross, and every candle leans at once.
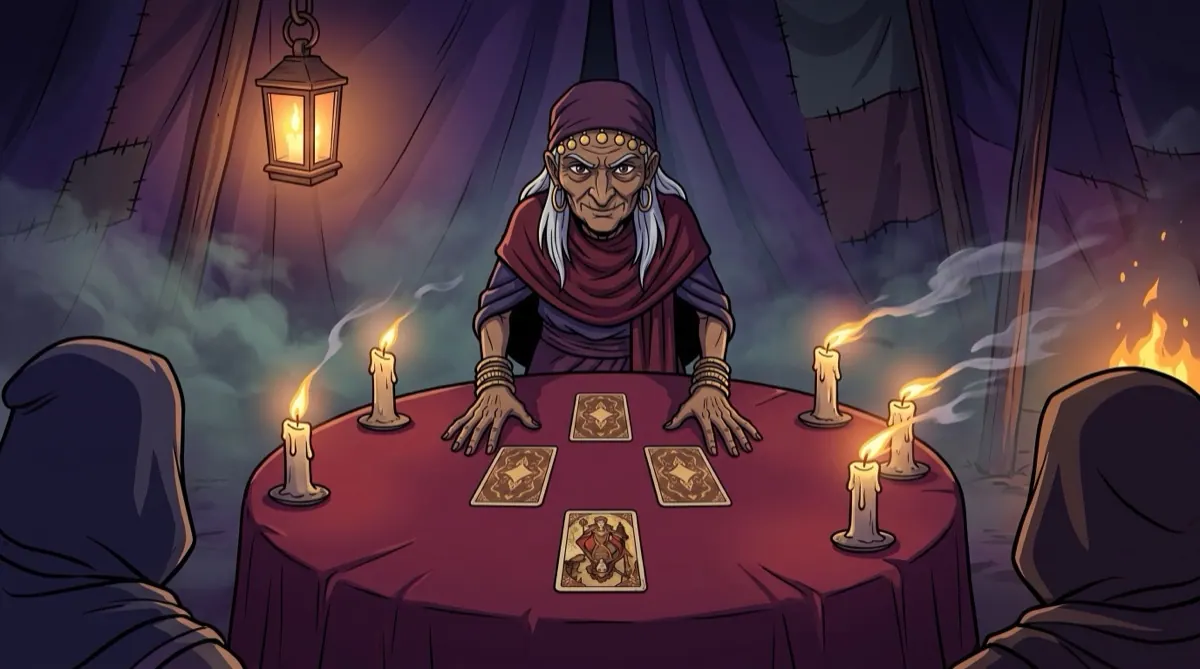
The Candles Lean: The Candles Lean: a later beat of a long conversation picture (svalich_road/madam_eva, ~ ally_seen), Ashwin's ask 2026-10-12.
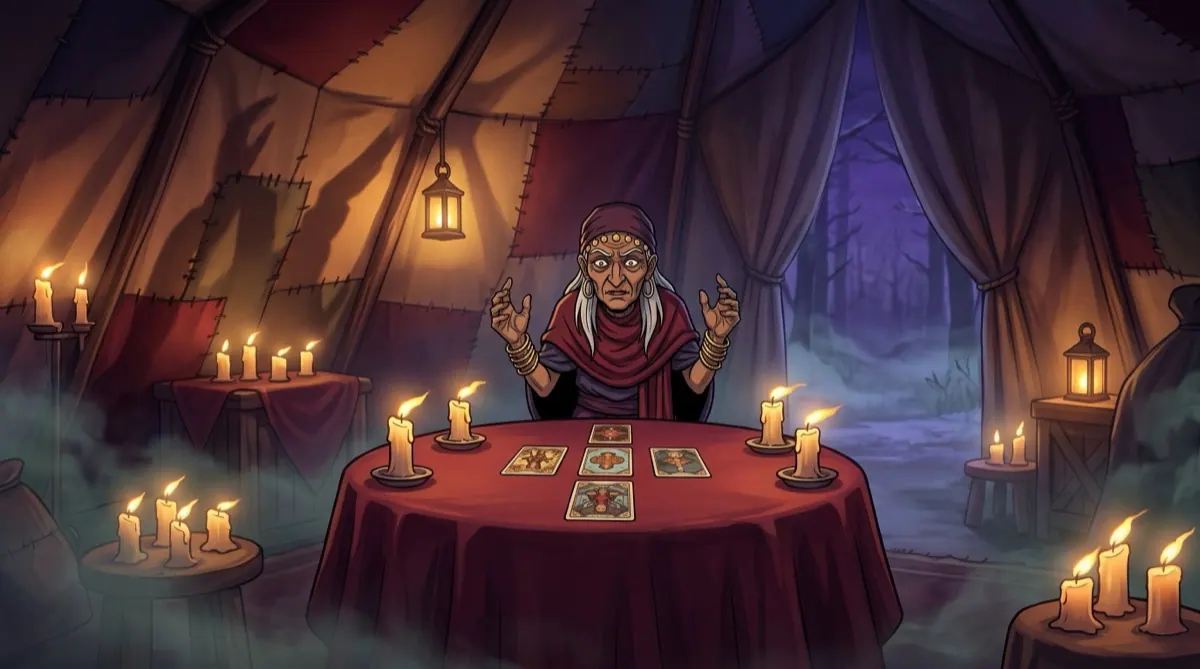
The Bundle in the Chest: The Bundle in the Chest: a later beat of a long conversation picture (svalich_road/madam_eva, ~ treasure_here), Ashwin's ask 2026-10-12.